 |
| Photo by Pascale Amez on Unsplash |
First off, let's define polyculture. Toby Hemenway in Gaia's Garden
"To re-create or mimic the original niches of our now-domesticated plants, we can use a gardening technique called polyculture, a word hybridized from the Greek poly, meaning 'many,' and the Latin cultura, 'to tend or cultivate.' Polycultures are dynamic, self-organizing plant communities composed of several to many species.
Interplanting and companion planting are elementary forms of polycuture, which in its simplest form is simply growing many plants together. But in more sophisticated polycultures, the plants themselves tune their environment to the best conditions for their growth... By blending a carefully chosen but highly diverse assortment of varieties, we can create gardens in which plants nestle together in minimally competitive patterns, bolster each other with beneficial interactions, and shift their composition in ecological succession, all combining to provide a lengthy and varied harvest of food, blossoms, and habitat" (p. 179).
To sum that up, you plant a variety of plants together in the same area. In other words, instead of planting one block each of peas, leaf lettuce, and broccoli, you plant multiple varieties of peas, leaf lettuce, and broccoli together. Notice that I said multiple varieties of each plant species. This allows for a longer harvest time as some varieties grow quicker, others produce longer, etc. Also, these plants need to be mutually beneficial, meaning that they should help each other out. Think about how each plant grows. Are they tall or short? Do they have deep roots or shallow ones? Are they a bush variety or a climbing variety? By intermingling plants that have different growth habits, you allow them to grow together without competing for light, nutrients, and water. Returning to the peas, leaf lettuce, and broccoli from above, think about how each one grows. Leaf lettuce will help shade the ground and keep it cool for the peas and broccoli. Peas will climb up above the lettuce and broccoli while also providing nitrogen. And by the time the broccoli has grown large the days are hot, so it then provides cooling shade for the lettuce, helping to prevent it from bolting or turning bitter.
The peas, leaf lettuce, and broccoli example is just a simple one, although it outlines one point that I would like to emphasize. Most conventional gardening methods show the garden as being comprised of only two dimensions. But when working with polycultures, and permaculture landscaping in general, you should remember that there are actually four dimensions in a garden: in addition to the conventional two horizontal dimensions (ahead-behind and left-right), you also have the vertical dimension (up-down) and, the most often overlooked, time. Knowing what happens over time allows you to plan that into your polyculture. As time passes, plants grow larger. At the start, more plants can be grown in a smaller area without inhibiting their growth. As you harvest some, you allow room for adolescent plants to continue to grow without stressful competition. Continued harvesting permits an optimal amount of plants to reach their desired size. Many pea varieties are great for the spring but die out in the summer. Therefore, planting pole beans a couple of weeks or so after your peas will let the peas pop up quickly to grow and produce, and then be replaced in summer by pole beans which thrive in the summer heat.
The polyculture I just planted in my garden is a mix of the two examples found in Gaia's Garden
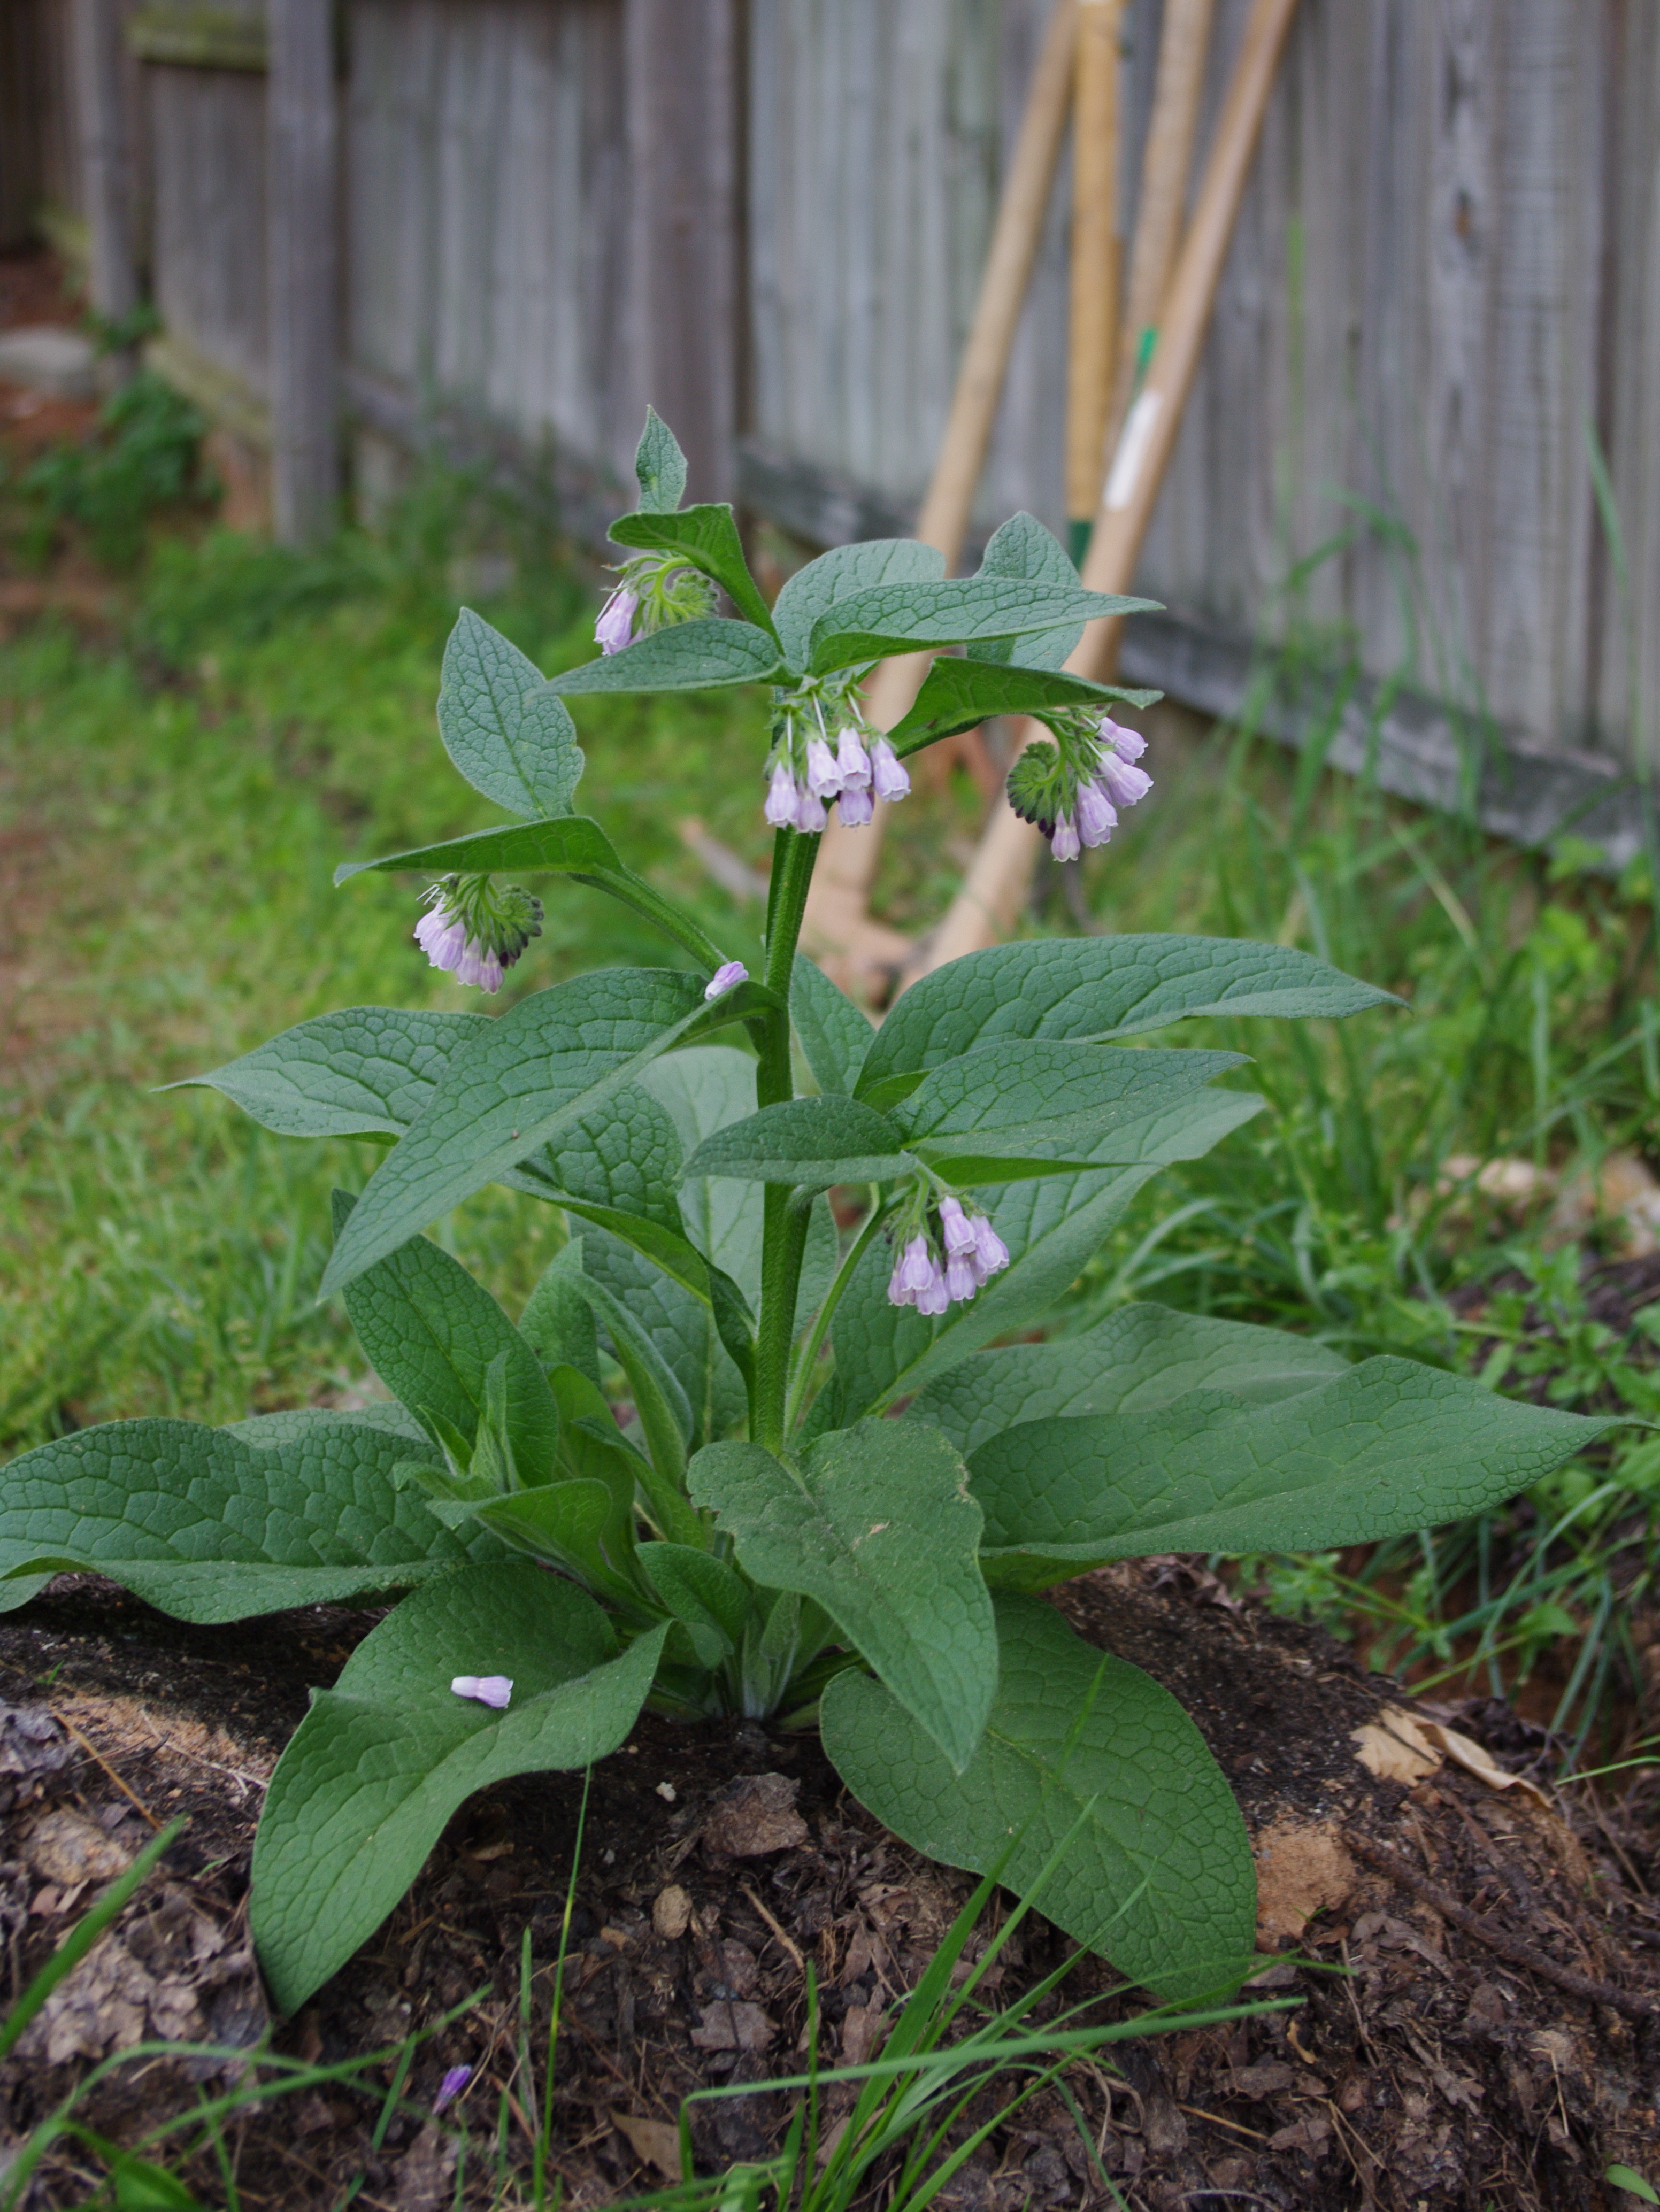
This is meant to basically be my salad bar. So, to provide a good salad base with lots of variety, I planted arugula, mache, a few different mustard varieties, multiple types of leaf lettuce, romaine, and a couple types of head lettuce. After the main greens, I added radishes, chard, carrots, fennel, dill, coriander, marigold, pansies, calendula, and parsnips. Then I planted a few bush peas and some leeks well spread out so as not to crowd each other or the other plants. I also included red clover and alfalfa for ground cover, nutrient accumulation, and nitrogen fixation, since I happened to have some seeds laying around from growing sprouts. I also anticipate lamb's quarters - a "weed" in the genus Chenopodium which also includes quinoa and Good King Henry - to show up in any open spots, followed by purslane - a great vegetable source of omega-3 - in the summer, both of which are great additions to any salad.
In a few weeks, I will begin harvesting. I will start out doing thinning by harvesting. In the resulting gaps, I will add cabbage or broccoli seedlings that I have going in my mini-greenhouses. Eventually, I expect to switch to a cut-and-come-again method when the plants have been reduced to what can fit in the area I planted. In any spots that have opened up by that time, I will plant herbs, such as basil, and bush beans since they both welcome the heat of summer. One other thing to keep in mind is that, as the weather grows warmer, the cool-weather plants will have a tendency to bolt. This can be nice because the plants can naturalize by reseeding themselves. If you would rather not have their progeny popping up in the spring, be sure to speed up the harvest of these plants before they bolt so they will be consumed before they can reseed.
One of the polycultures found in Gaia's Garden
See also:
http://www.permies.com/t/3648/permaculture/Ianto-Evans-Polyculture
http://www.veggiegardeningtips.com/surprising-lambs-quarters/
http://pfaf.org/user/Plant.aspx?LatinName=Chenopodium+album
Update: We are well into spring now, although it has been pretty cool which has allowed the living salad bar to continue to grow at a comfortable pace without going into panic mode and bolting. Here are a few pictures. The first two are in the early stages before much of anything was coming up in the non-sheltered section. It looks a little sparse. Not to worry, though! As you can see in the third photo, the plants did come up and continued to sprout and grow (and get eaten :-) ).
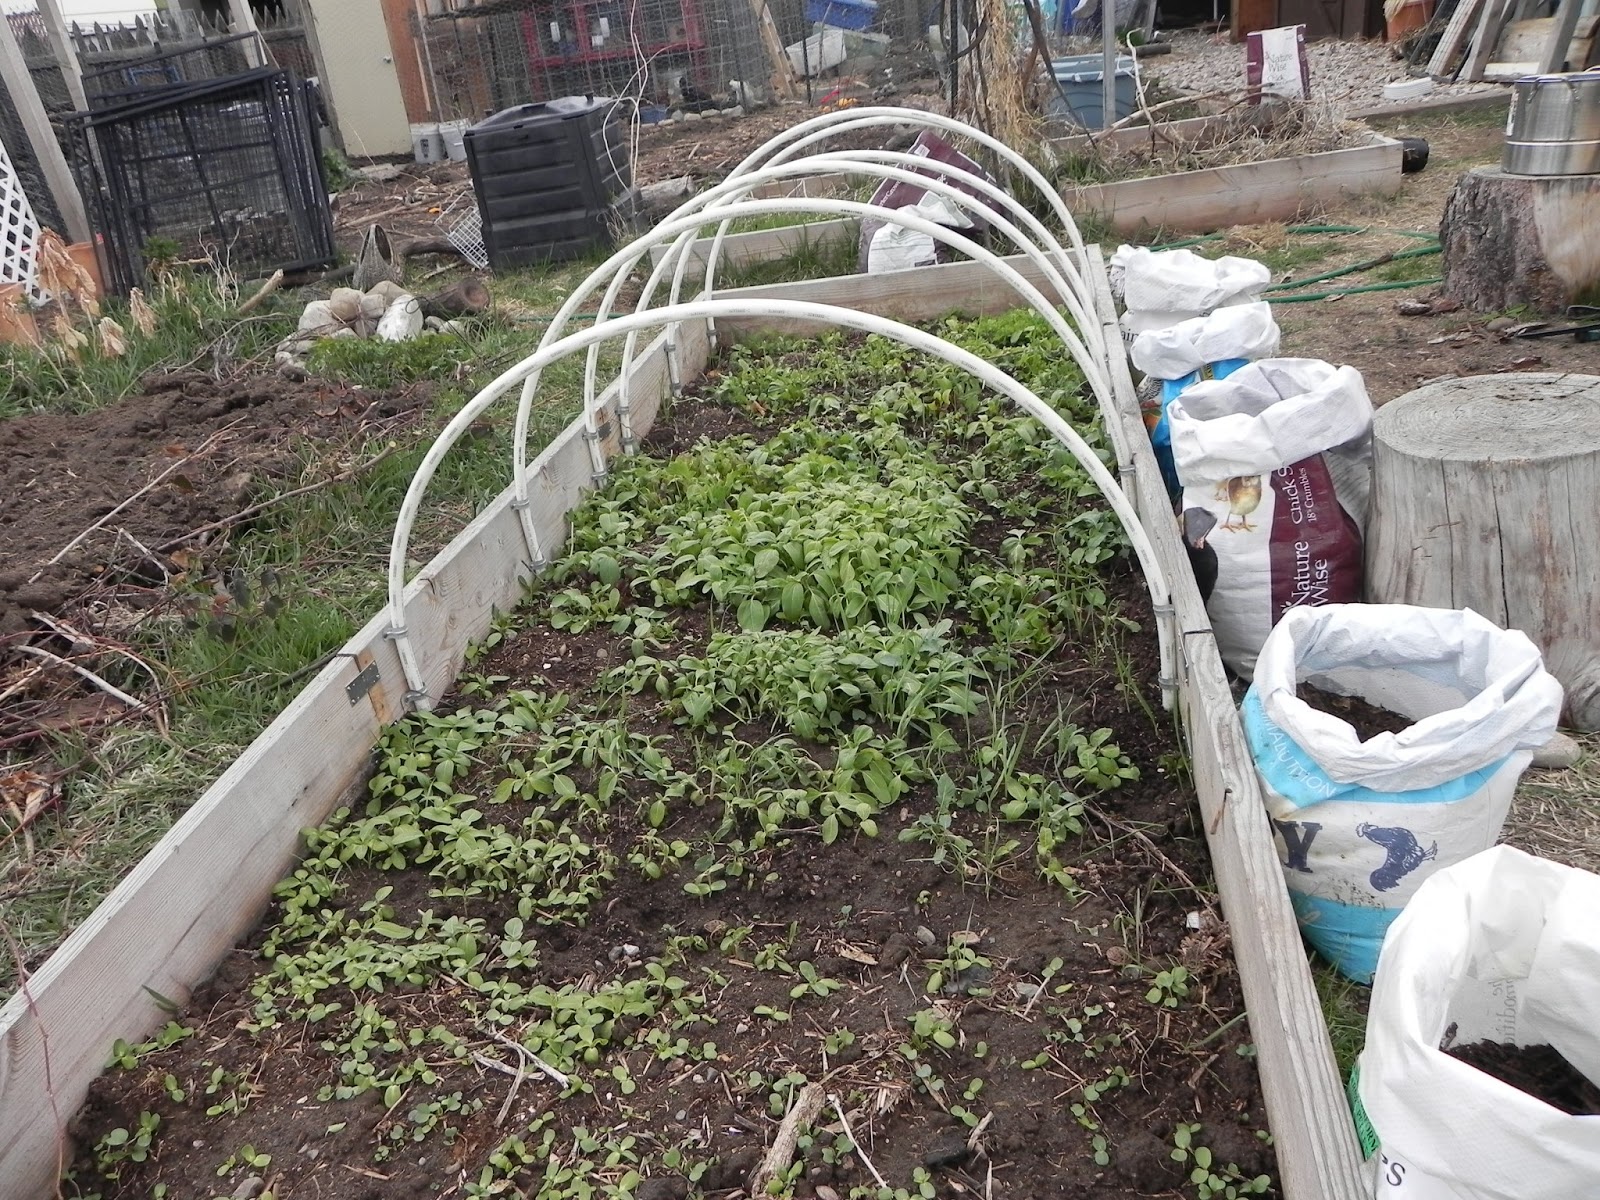
This is when the plants were still getting started. The bare-looking patch was planted a couple of weeks after the area under the hoops and had not yet done much in the way of growing.

From this angle, you can see groups of plants surrounded by open soil. Part of this is due to letting children help with planting. This was also caused by apparently huge amounts of sunflower seeds dropping onto this bed in the fall and taking advantage of the cover early in the spring to get a head start on growing. Most of the sunflower sprouts have been pulled and used as animal fodder so that Lettuce & Co. can get the light necessary for growth.

This is a more recent picture. You can see how the plants are really filling out the bed. With the exception of sunflower sprouts and bindweed (wild morning glory), which are used as animal fodder, everything else gets eaten by people, including the lamb's quarters and prickly lettuce. The radishes need continual thinning, but, as there are multiple radish lovers in my home, this is not a problem.

Here is what it looks like today. We just went through a few days of rain, so nothing has been picked for a bit. Even the aggressive sunflowers that escaped culling are hard-pressed to keep up with everything. You cannot even tell that, with the exception of the past three days, we have heavily harvested this patch.

Here it is from the other end. Even the later plantings are growing fast and furious. Most of the weeds have been squeezed out except for in a few niches, with the noticeable exception of bindweed. It just sends up a flag above the other plants to make sure it is getting enough sun. It is definitely a difficult plant.

And here is the overview. There is a somewhat bare section in the middle where one end of the plastic that was draped over the hoops was weighted down. A couple of tomato plants have taken up residence there to keep the ground covered and make use of good soil.
Nothing special was really done with this bed. It was planted early and this spring has been quite exceptional for cool-weather plants.


